Article No: 6 — Planning & Building
How to Build Your Dream Home
and Garden Landscapes
The order of work that separates a garden that lasts from one that gets rebuilt in three years — planning, levels, drainage, hard landscaping, planting, lighting and staging.
Photo feature
Five stages from plan to finished garden
Large format photography following a dream home and garden from drawing board through to the finished landscape.
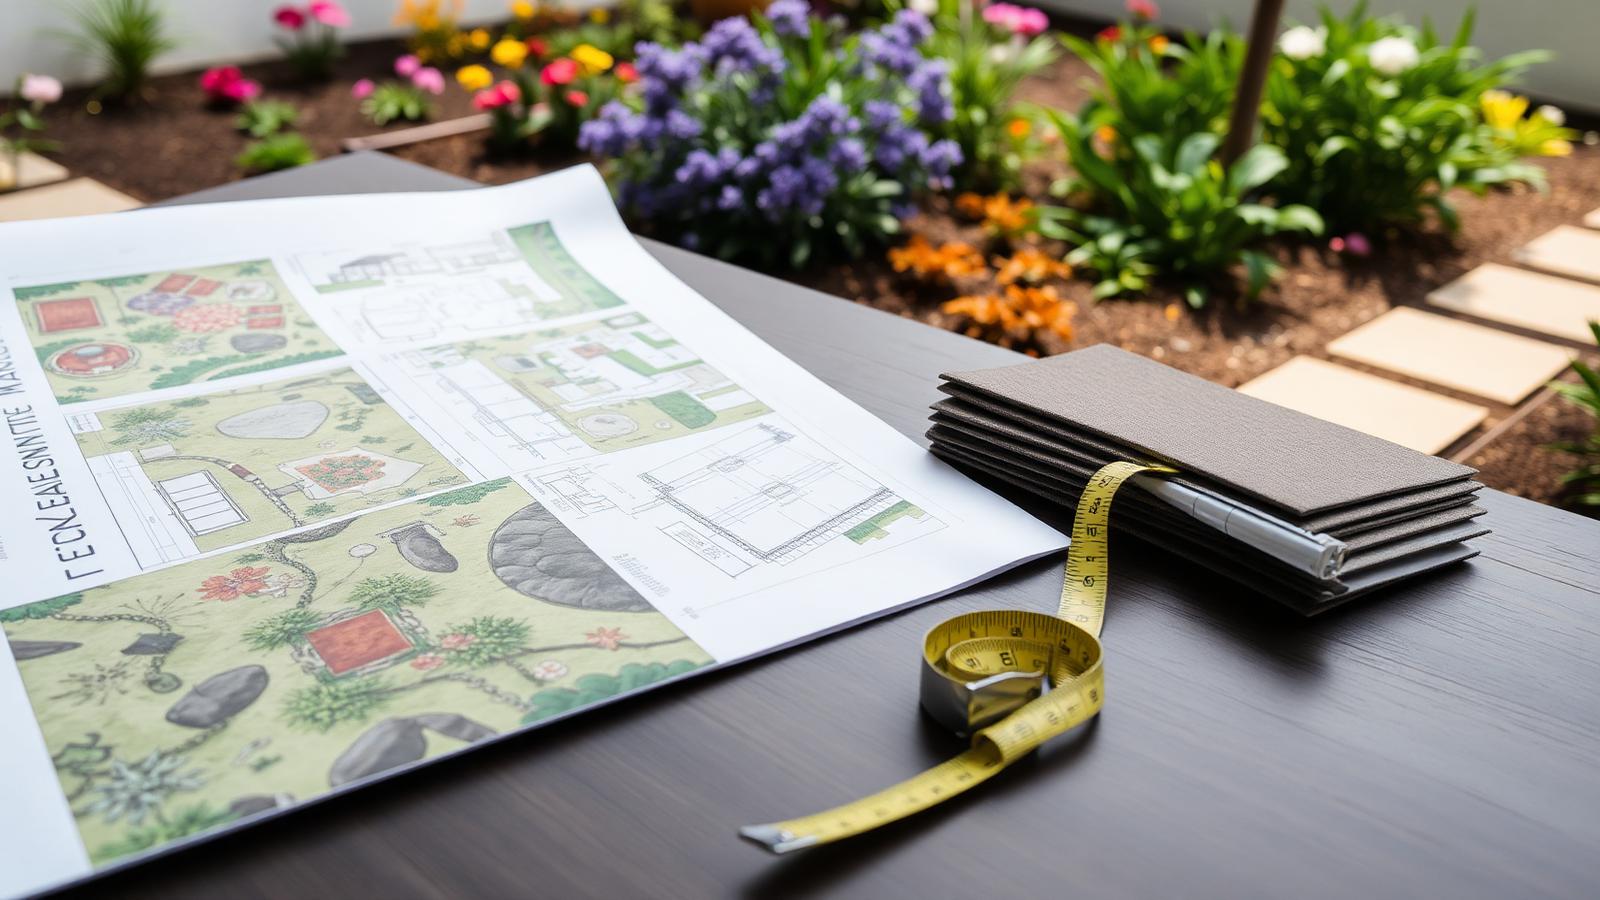
Every dream garden starts on paper, not in a nursery. Measure the site, mark what has to stay — trees, drainage, boundaries, the view — then plan the zones before you choose a single plant. An afternoon spent on a scale drawing routinely saves five figures in rework, because it forces the hard decisions before anything is concreted in.
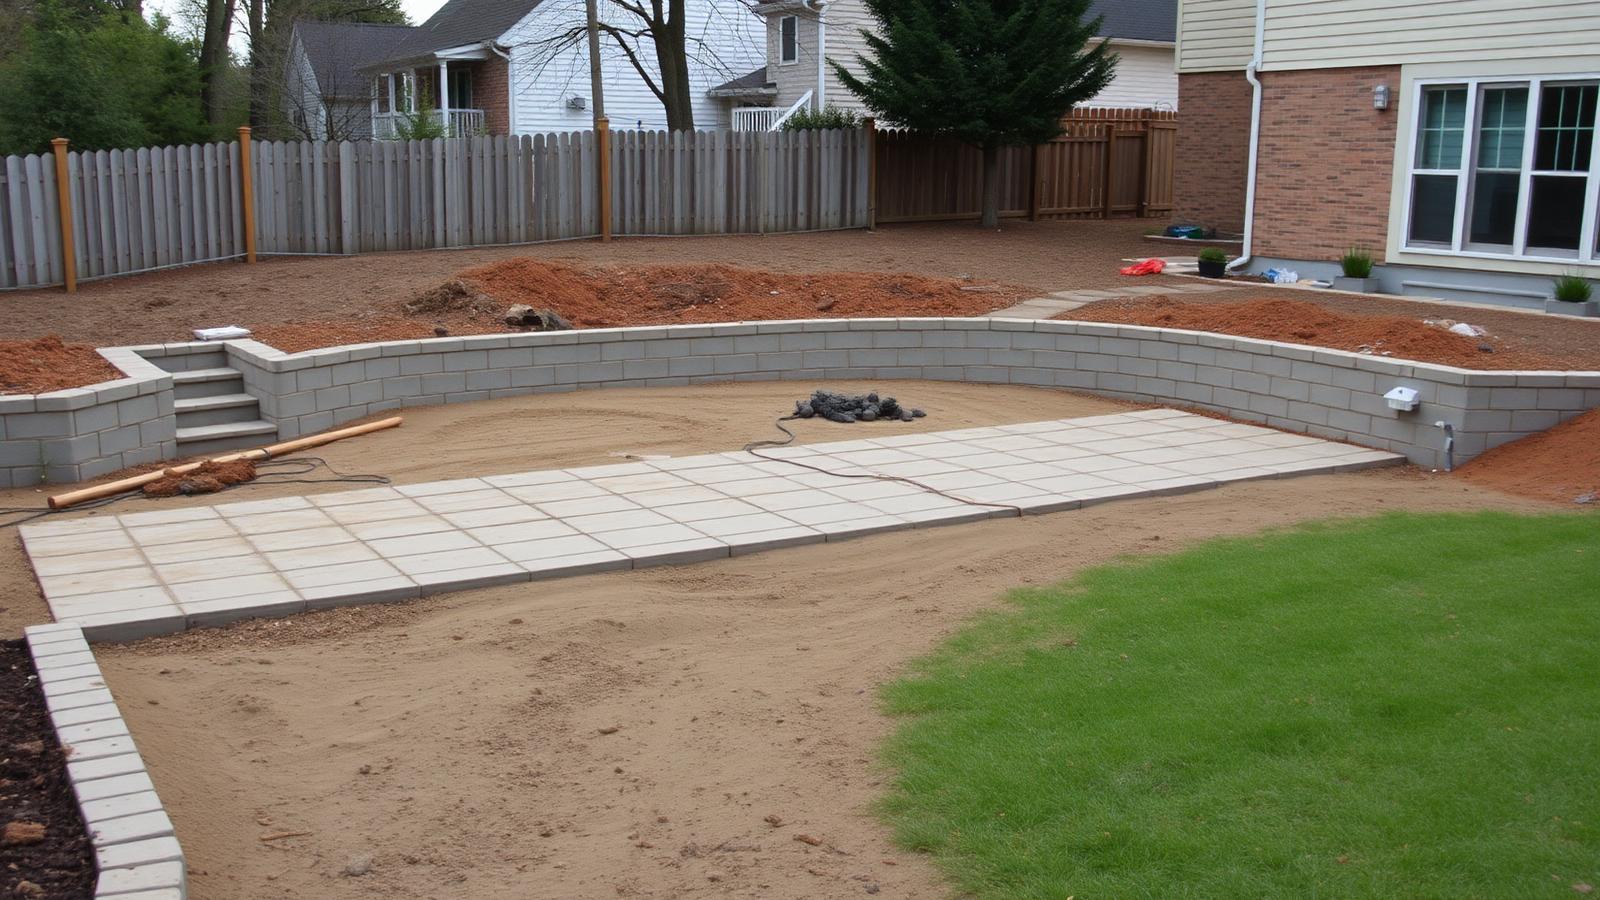
Get levels, drainage and services right first
The invisible stage is the one that determines whether the finished garden lasts. Set your finished levels, fall water away from the house, install ag lines and pits, and run every conduit you might ever need — pool, lighting, irrigation, outdoor kitchen, future studio — before anything is paved. Nothing is more expensive than cutting a new trench through a finished terrace.
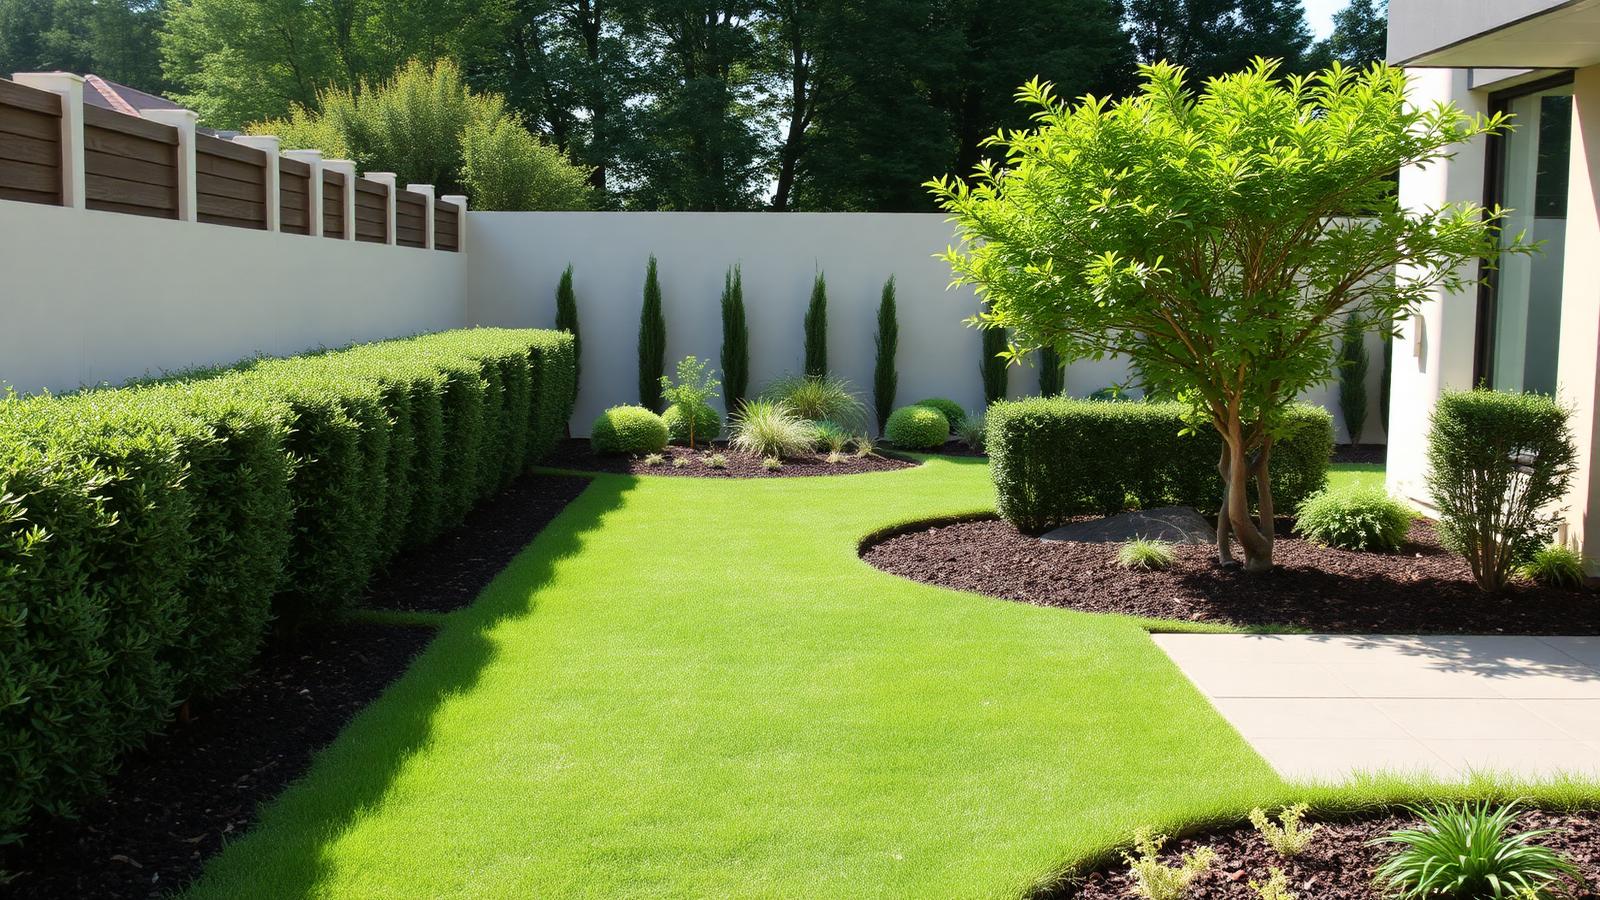
Plant for the garden you will have in five years
- Structure first: hedges, screening and one or two feature trees set the frame; everything else is filler.
- Spacing: plant at mature spacing and accept it looks sparse for two seasons. Crowded gardens fail early.
- Irrigation and mulch: drip lines under 75mm of mulch cut water use and weeding dramatically.
- Soil: spend the money here rather than on bigger plants — good soil catches up within a year.
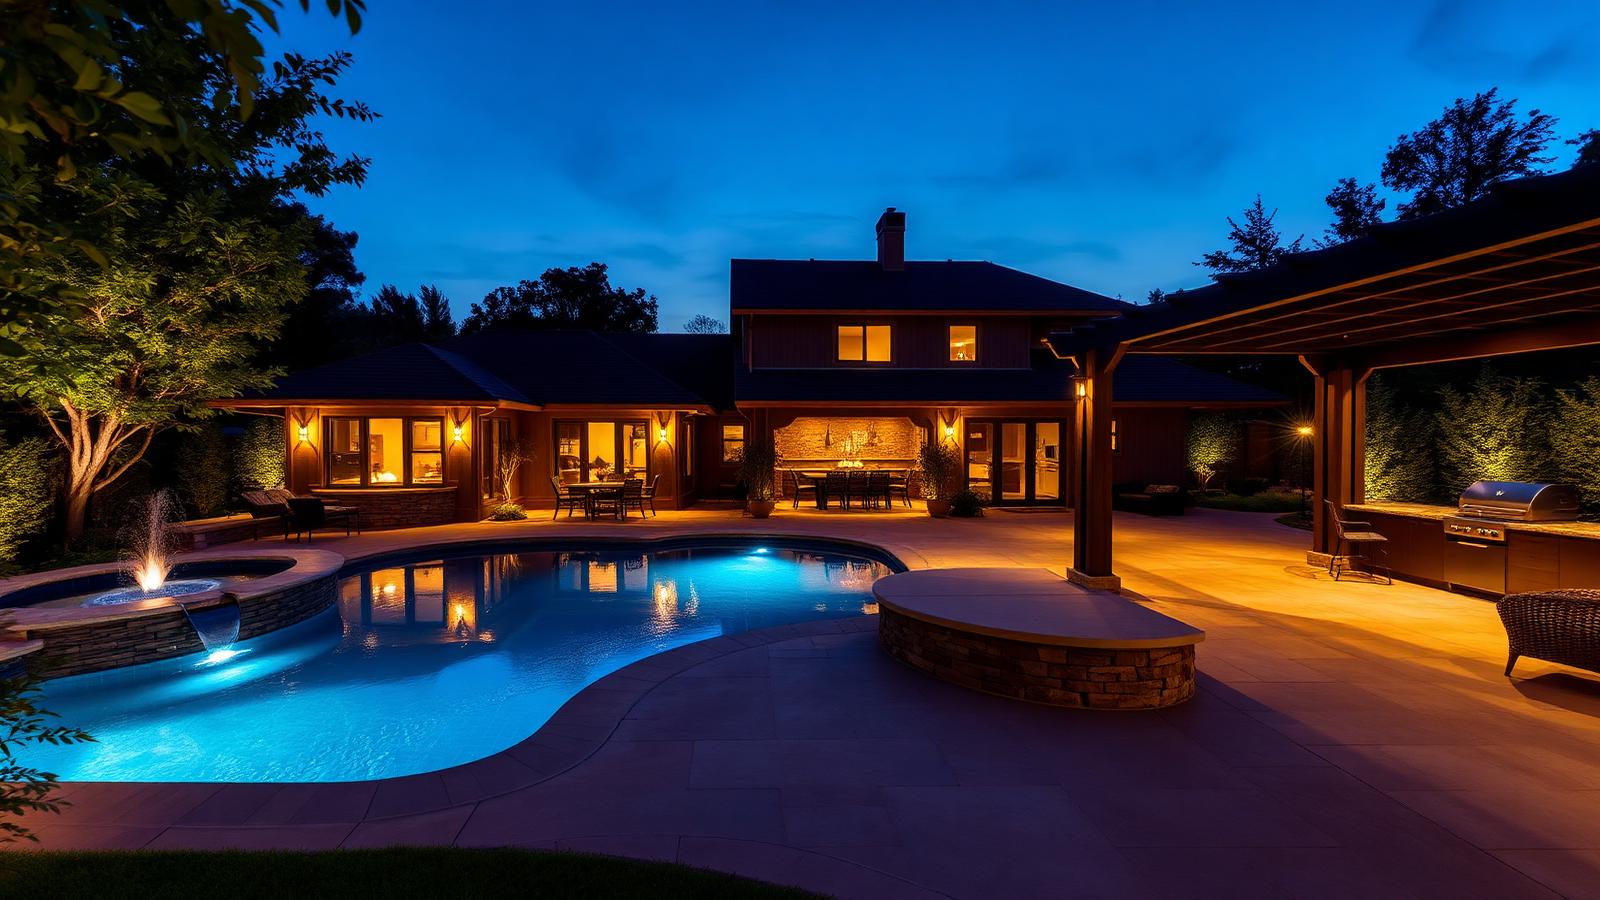
Lighting, cover and the outdoor kitchen
The final layer is what makes the garden usable after five o'clock: warm low-level garden lighting, a covered dining and lounge zone, and a cooking bench with power, water and shelter. Do these three things and the garden stops being scenery and becomes the part of the house you use most.
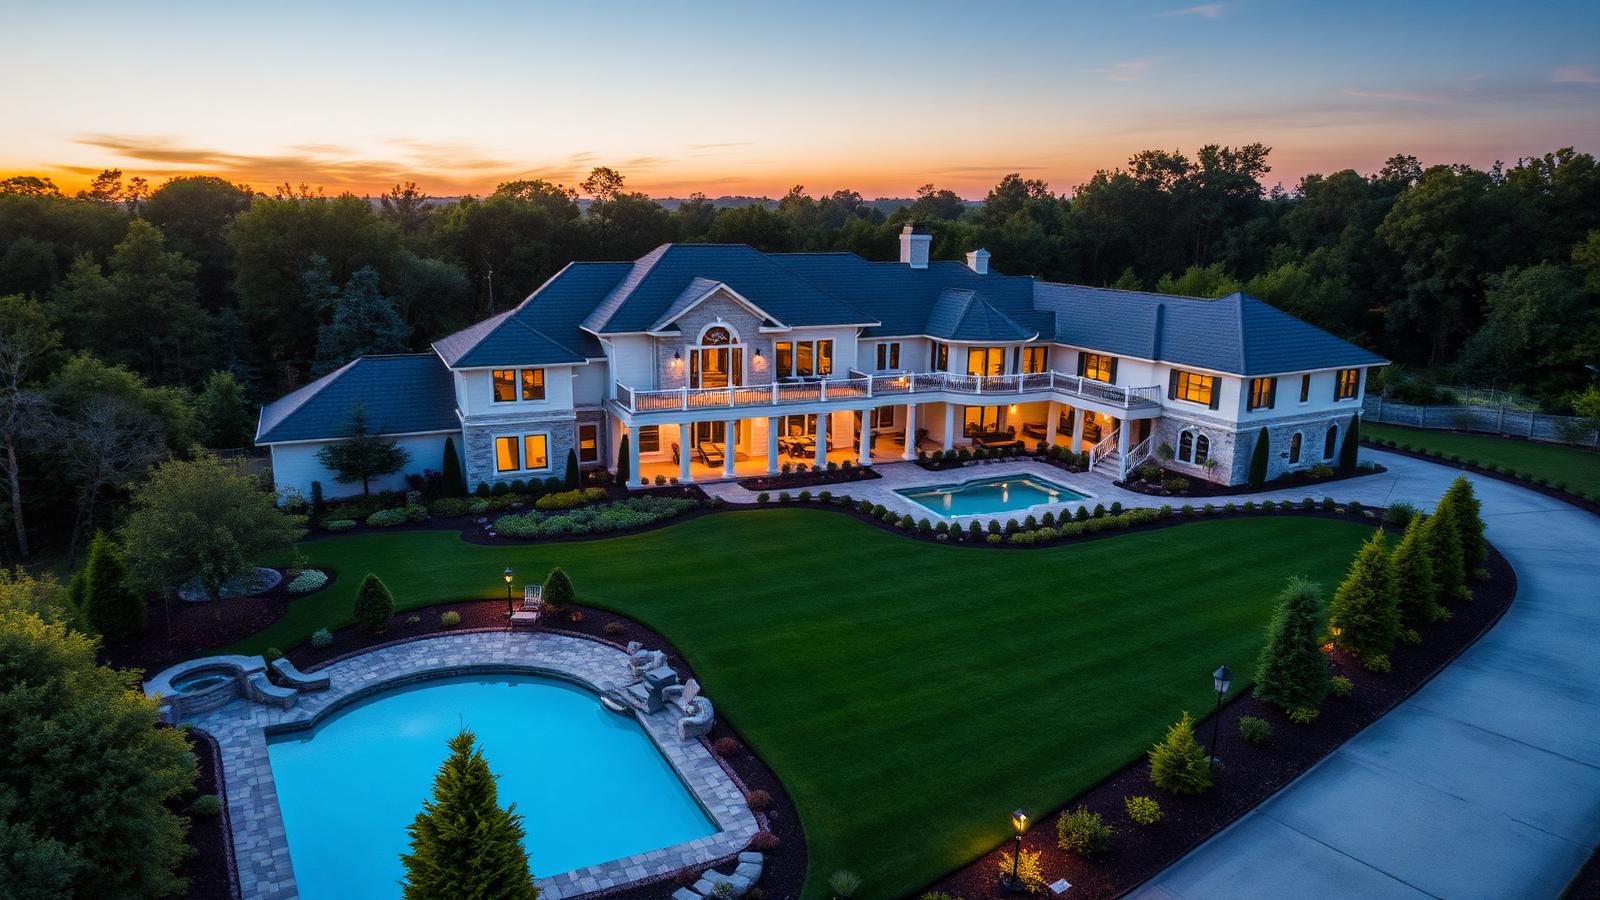
Build it in stages, not all at once
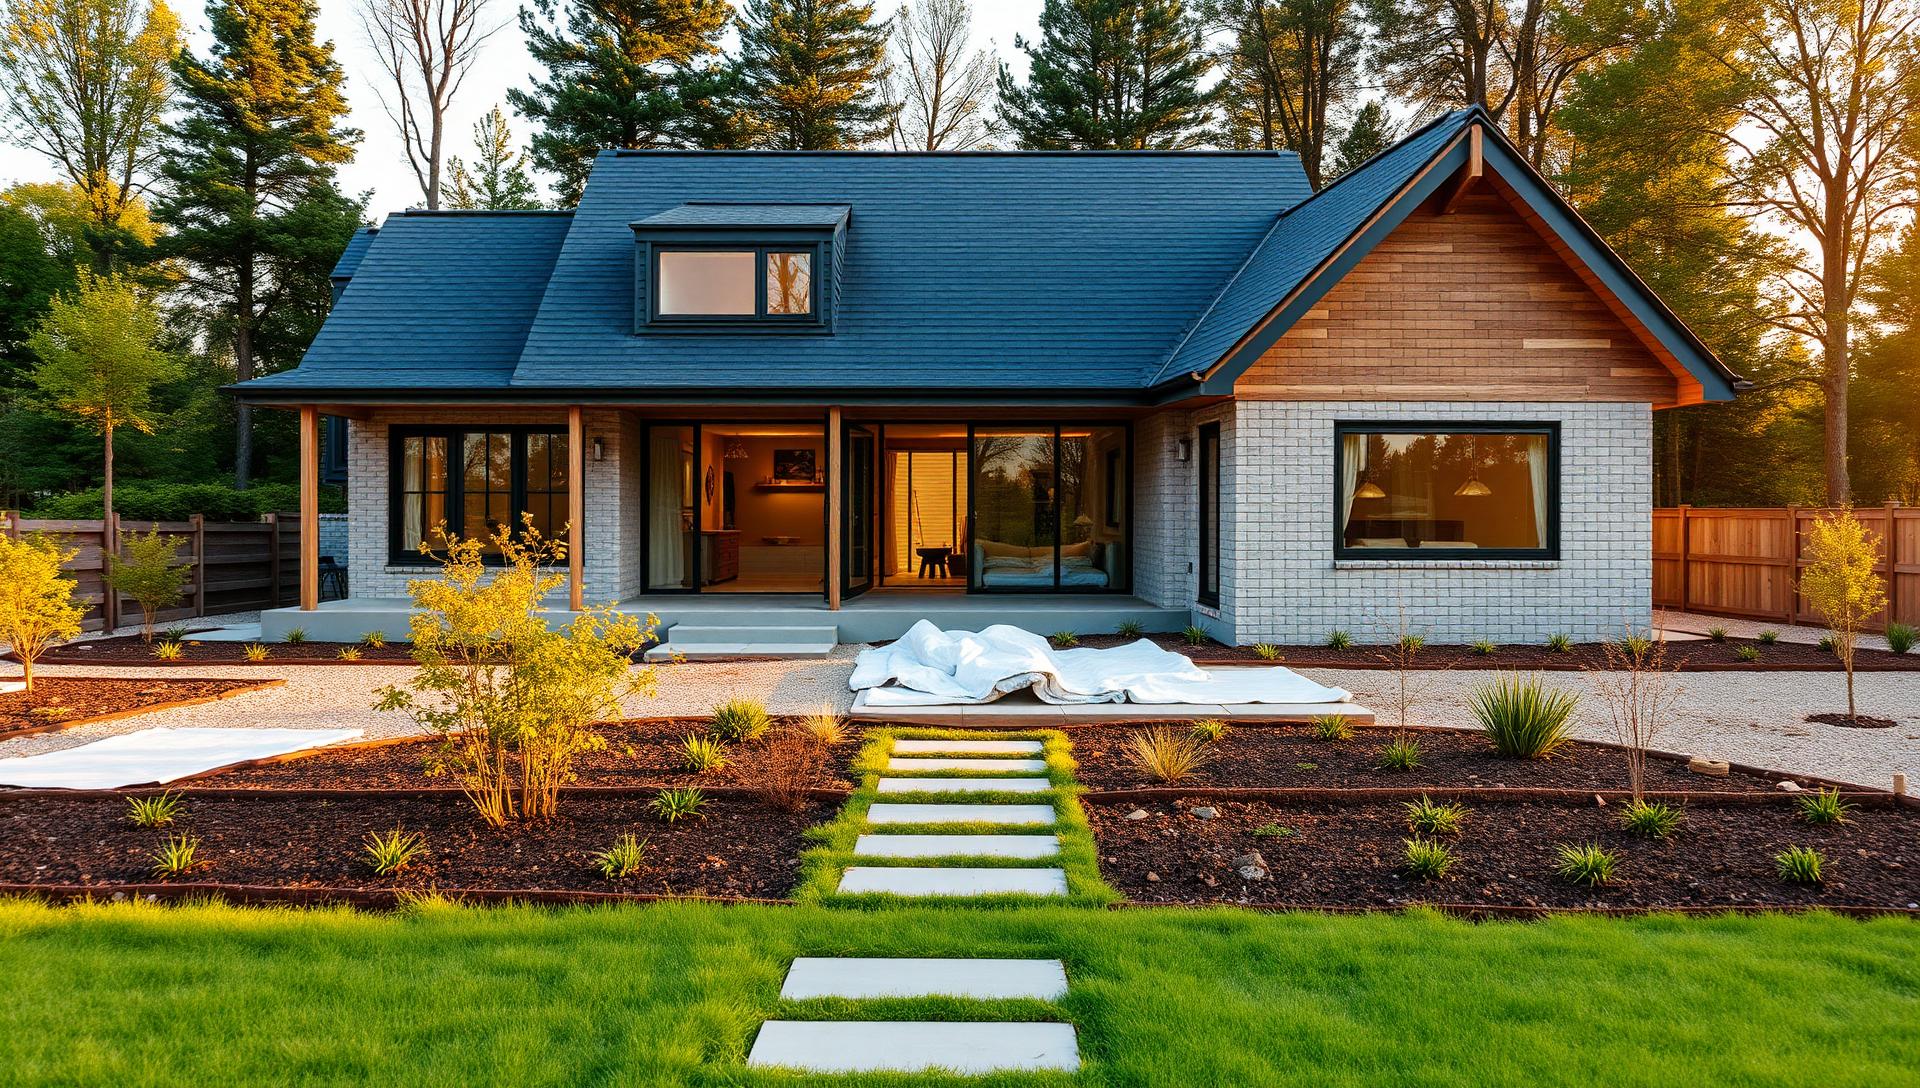
Almost nobody builds a whole landscape in one go — and you do not need to. Lock in the master plan, then stage the work: levels and services, then paving and structures, then pool, then planting, then lighting and furniture. Because every stage was drawn against the same plan, the finished result looks like one design rather than five compromises.
Full feature article · Pergolas & Patios
The Importance of Shade and Cover in Backyard Home Designs
Pergolas and patios turn an unusable backyard into a space you enjoy all year — shade, style, protection for furniture, and a home for dining and cooking zones.
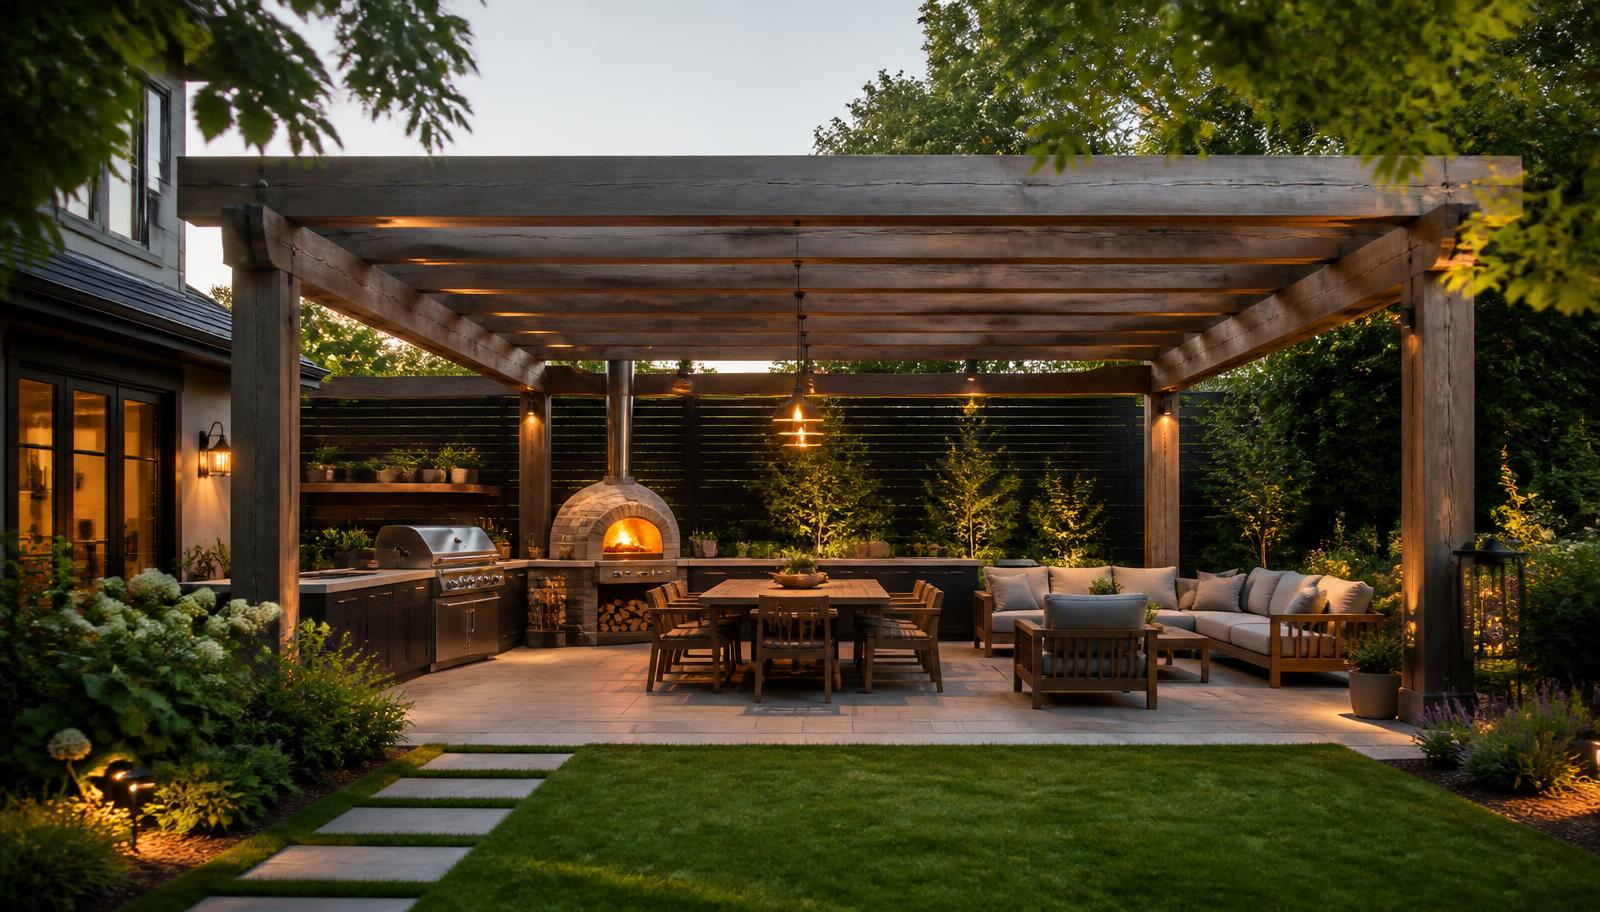
The single change that transforms most backyards is not planting, paving or a pool. It is cover. A backyard without shade is used for a few hours on mild days; the same backyard with a well built pergola or patio becomes the room the family lives in from spring through to the middle of winter. Cover is what converts outdoor area into outdoor living.
Shade also protects the investment already sitting outside. Ultraviolet light destroys cushions, timber finishes, outdoor rugs, televisions and barbecues far faster than rain does. Furniture under a solid roof lasts several times longer than the same furniture in the open, which means the cover often pays for itself in replacement costs alone before any comfort is counted.
Choosing the structure is a decision about light. A slatted or louvred pergola casts a moving pattern and keeps the space bright, which suits dining areas and pool surrounds. A solid insulated roof creates genuine all weather cover for a kitchen, lounge or television zone, at the cost of some light to the windows behind it. Glass or polycarbonate keeps winter light in while stopping the rain, and needs shade cloth or planting above it to be tolerable in summer. Many of the best backyards use two structures with different roofs for different jobs.
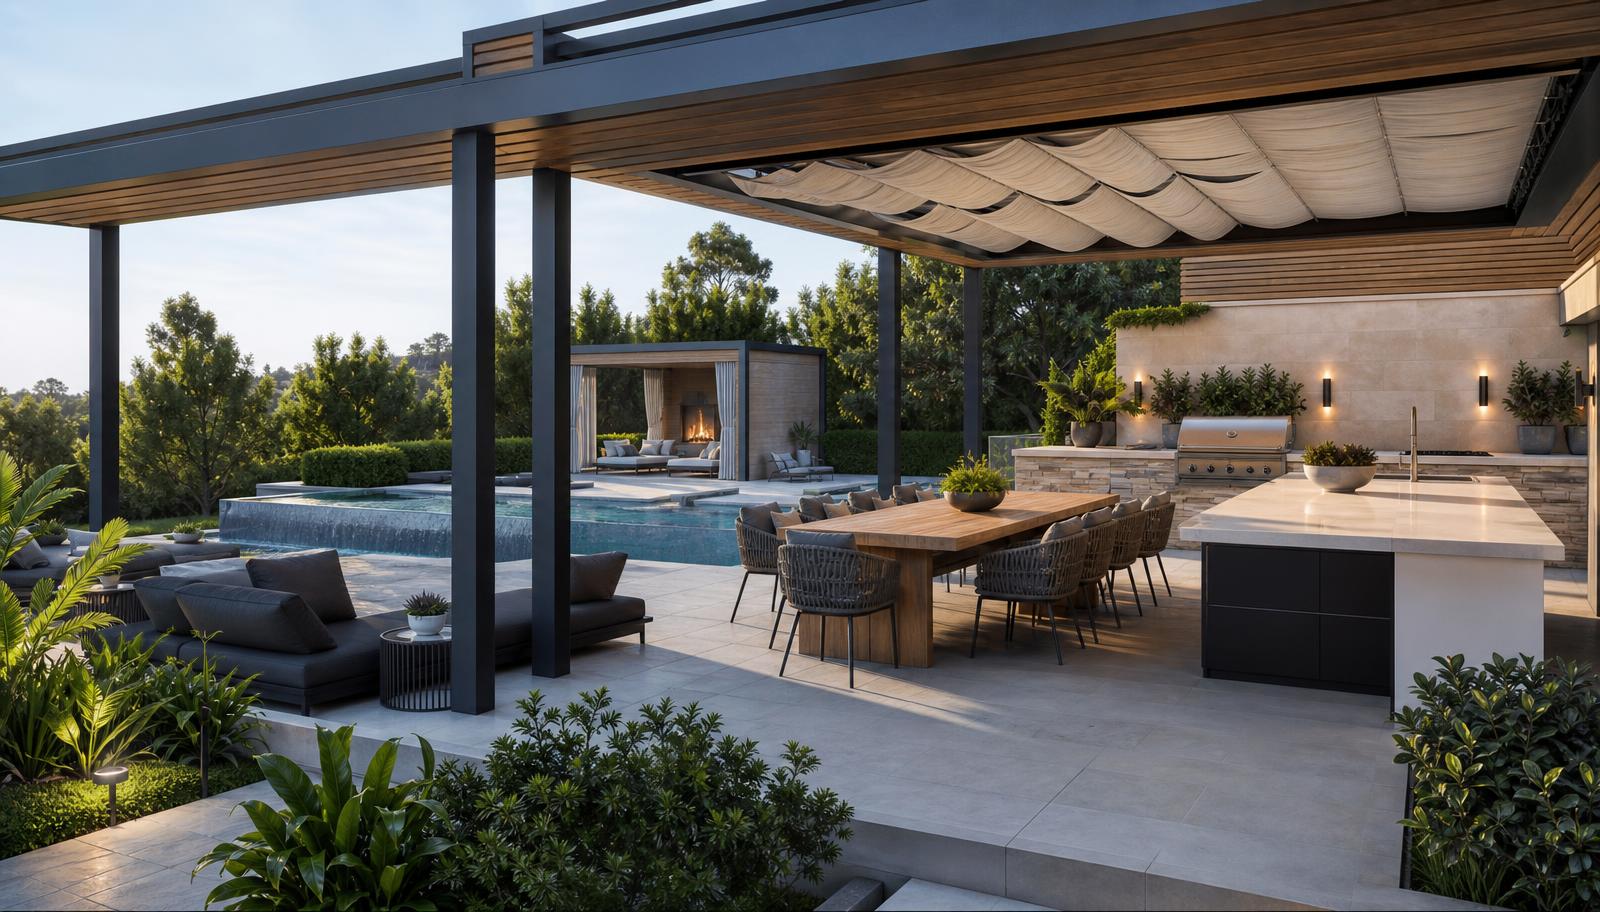
Orientation and sizing decide whether the structure works. Western sun is the enemy, so plan for a vertical screen, blind or planting on that side rather than relying on the roof. Allow at least three and a half metres of depth for a dining table with chairs pulled out, more if a barbecue or bench sits under the same roof. Set the height generously — low pergolas feel oppressive and trap smoke and heat from cooking.
Build the services in while the frame is open. Downlights and a dimmer on the beams, a fan for still summer evenings, strip heating for winter, weatherproof outlets for cooking appliances and speakers, and gutters plumbed into the stormwater rather than spilling onto paving. Retrofitting any of these later means cutting into a finished ceiling.
Finally, connect the cover to the house and the garden. Paving that runs at one level from the interior floor through to the covered area removes the trip hazard and doubles the apparent size of the living room. A screen of tall planting or a hedge on the boundary side gives privacy, and a climber over one end of the pergola softens the structure so it reads as part of the garden rather than a carport in the wrong place.