Home Design Photos

House Design Photos is a HUGE Library Gallery and Directory of Home Design Photos

This Website Features a Massive Display of New House Design Ideas and Amazing Garden Landscape Design Photos.

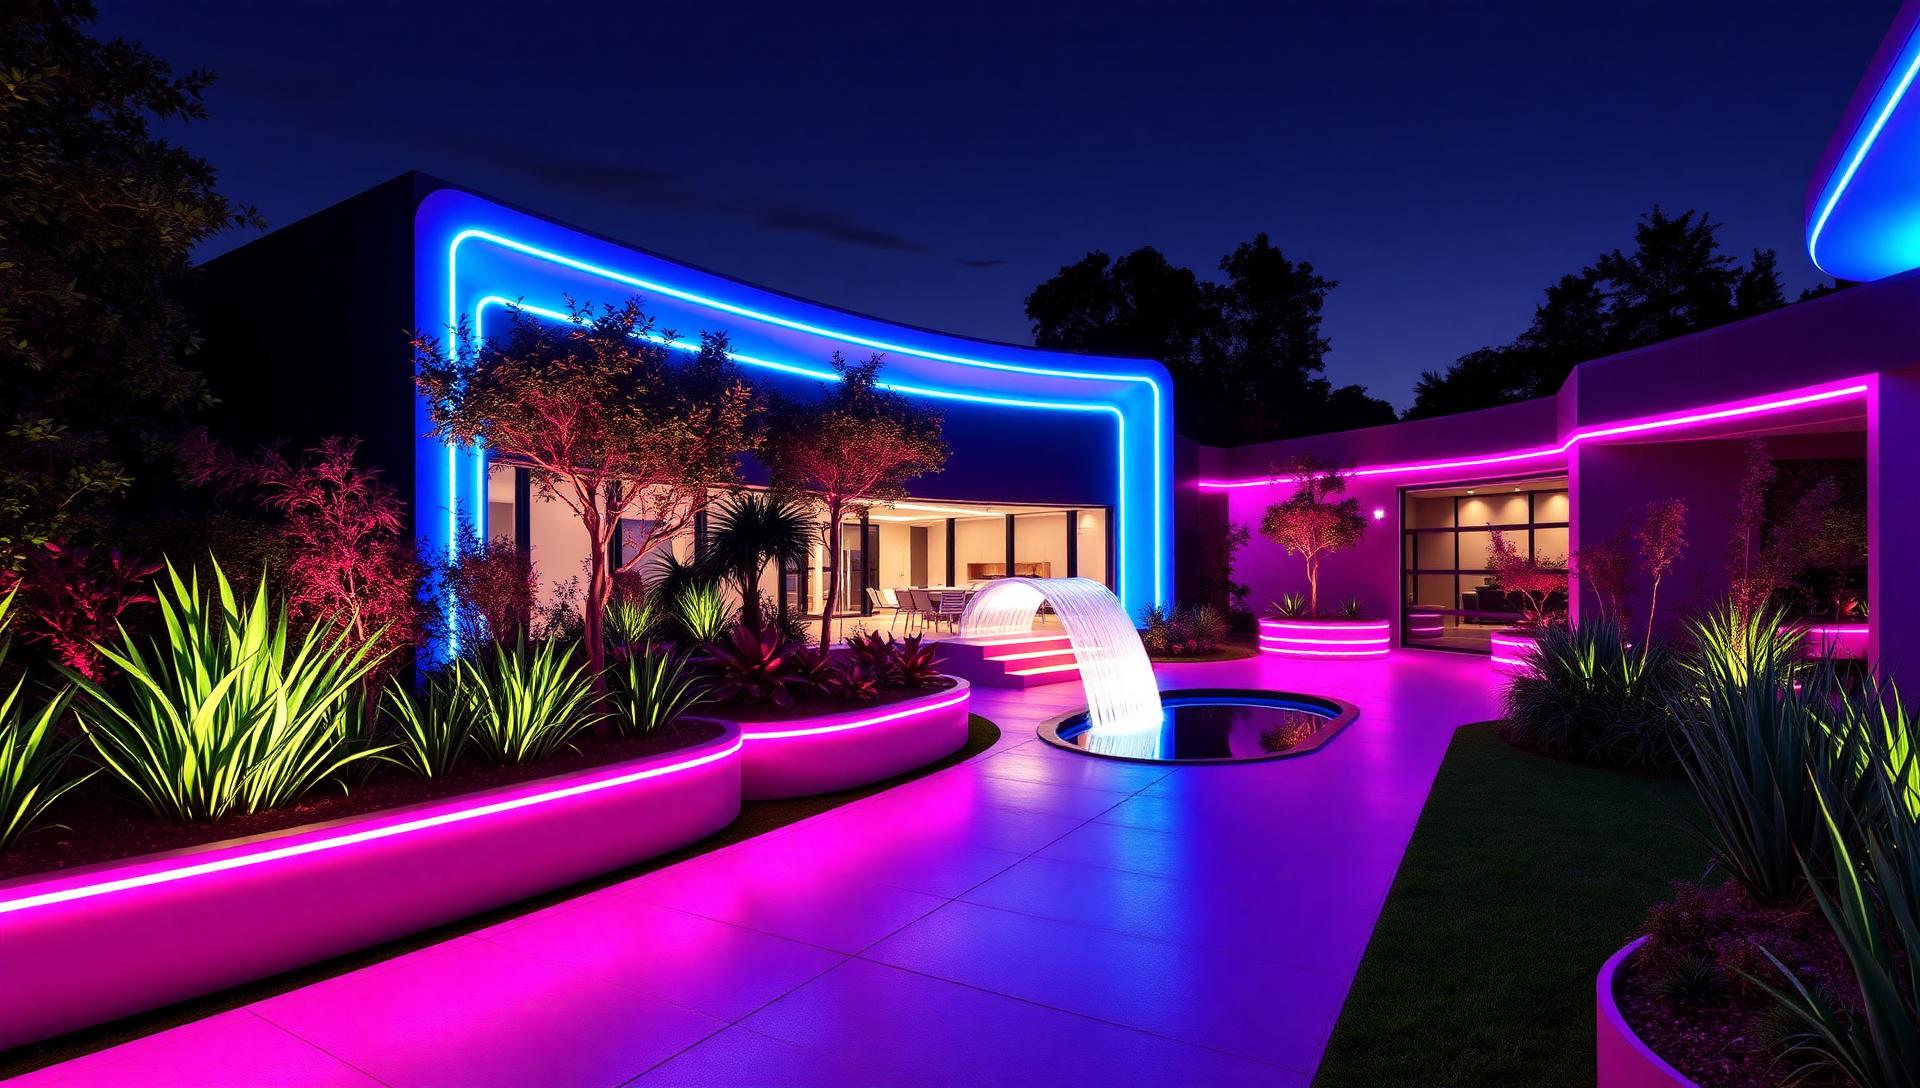
Modern Futuristic Garden Concepts Lighting, Form and Technology feature article LED planter walls, glowing geometric pathways, hydroponic green walls, illuminated. this image created by www.homedesign-photos.com
Featured article · Futuristic Gardens

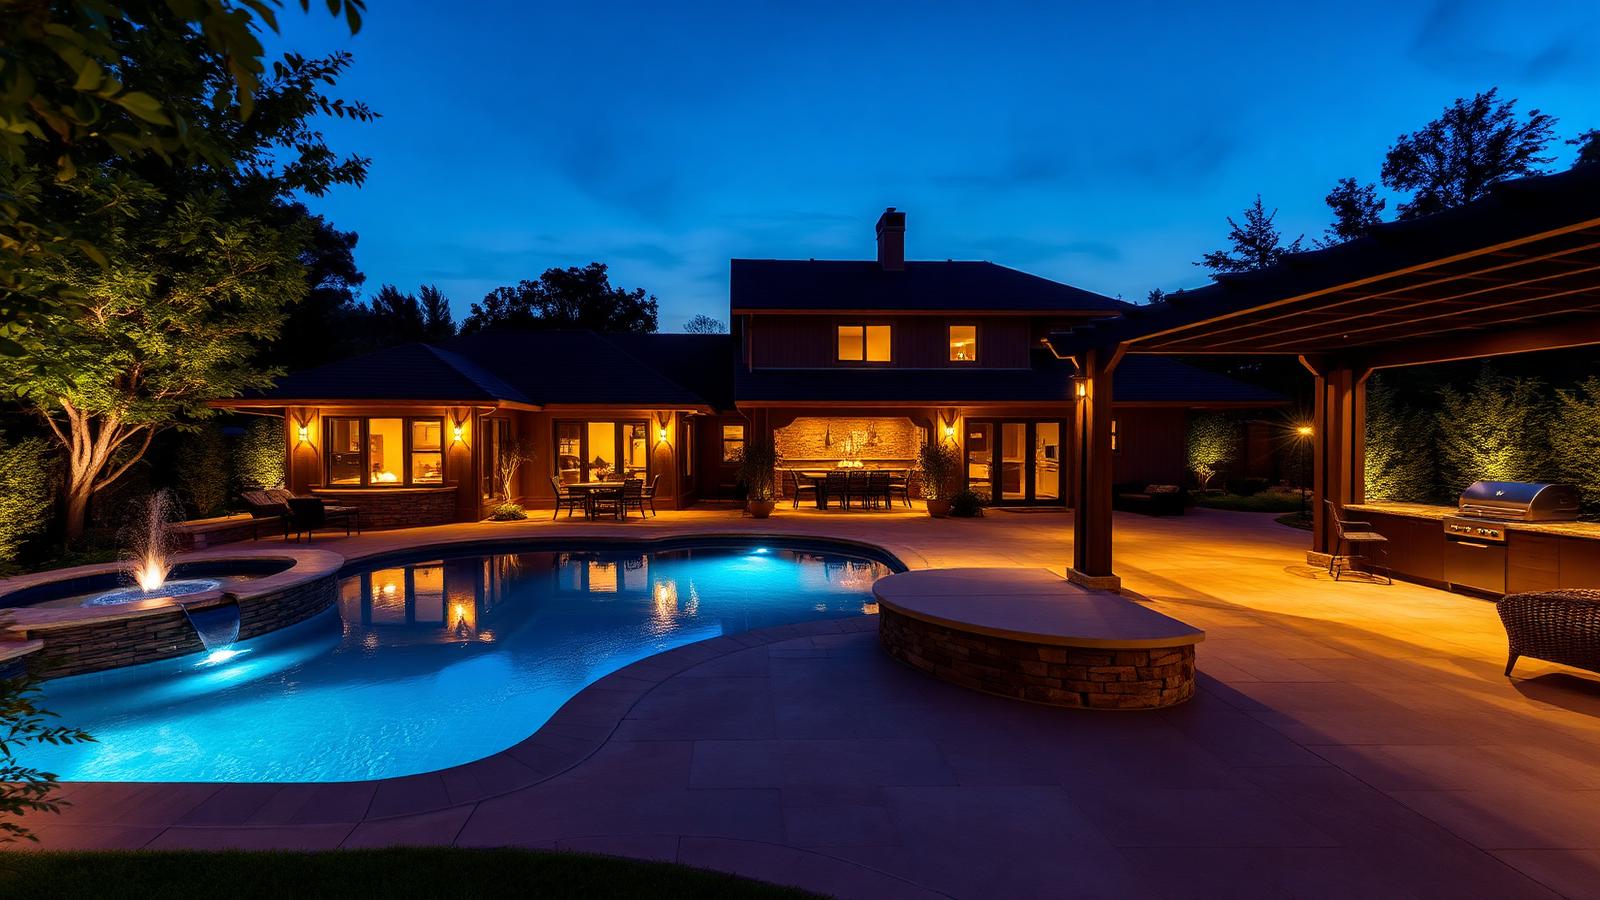
Modern Futuristic Garden Concepts — Lighting, Form and Technology

LED planter walls, glowing geometric pathways, hydroponic green walls, illuminated infinity pools and parametric canopies with concealed lighting, heat and sound. Futuristic garden design has moved on from novelty lighting. The current language is architectural: strong repeated geometry, monolithic planters, floating steps, water held level with paving, and canopies that appear to hover. Technology is present everywhere and visible almost nowhere, which is exactly the effect that makes these gardens photograph so well. Form comes first because light can only trace what already exists. Establish the geometry in daylight — the long axis, the repeated planter module, the alignment of the pool edge with the terrace edge — and the night version will look intentional. Gardens that skip this step end up as an ordinary yard with coloured fittings pointed at it. Lighting design follows three rules. Hide the source: bury fittings in gravel, tuck them beneath step nosings, behind planter lips and inside canopy slats. Layer the effect: a low warm wash for circulation, focused uplight on structure and trees, and grazing light on textured walls. Control it in scenes: arrival, dining, swimming and late evening, each a different garden built from the same fittings. Living walls and hydroponic...

Read the full article

Full feature article · Garden Plans

Aerial Top View Garden Layout Design Ideas and Photos

Why looking straight down reveals a garden's real design — grids, axes, proportion, circulation and the layouts that read beautifully from above.
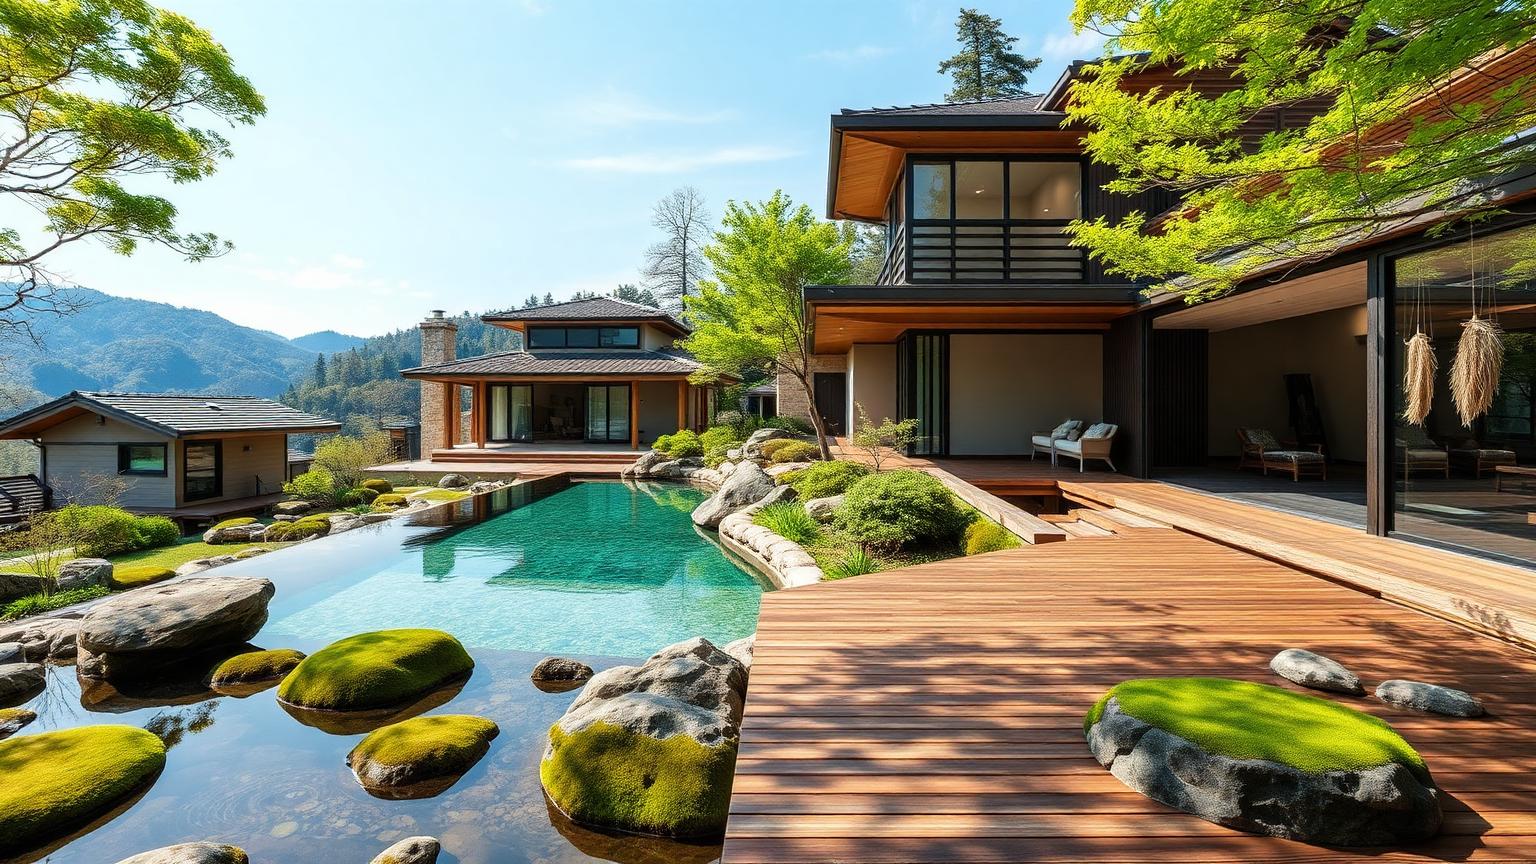
Aerial Top View Garden Layout Design Ideas and Photos Garden Plans home and garden design photo feature. this image created by www.homedesign-photos.com

Photographed from directly above, a garden cannot hide behind planting or clever angles. The plan is exposed: the proportion of paving to green, whether lines relate to the building, how circulation actually works, and whether the spaces have deliberate shapes or are simply what was left over. That is why designers draw in plan first, and why aerial photographs are the fastest way to learn what makes a layout work.

The strongest layouts are built on a grid taken from the house. Extend the lines of walls, window openings and doorways into the garden, and use them to set the edges of terraces, lawns, pools and beds. Paving modules aligned to that grid, a path centred on a door, a pool parallel to the main elevation — these decisions cost nothing and they are what makes a garden feel resolved even when the planting is young.

Proportion and shape do the rest. Give each area a clear geometric footprint — a rectangle of lawn, a square terrace, a long rill — rather than curves drawn to avoid obstacles. Where curves are used, make them generous and confident, struck from a single centre rather than wandering. Leave one area deliberately open, because a garden with no empty space reads as clutter from above and feels busy at ground level.
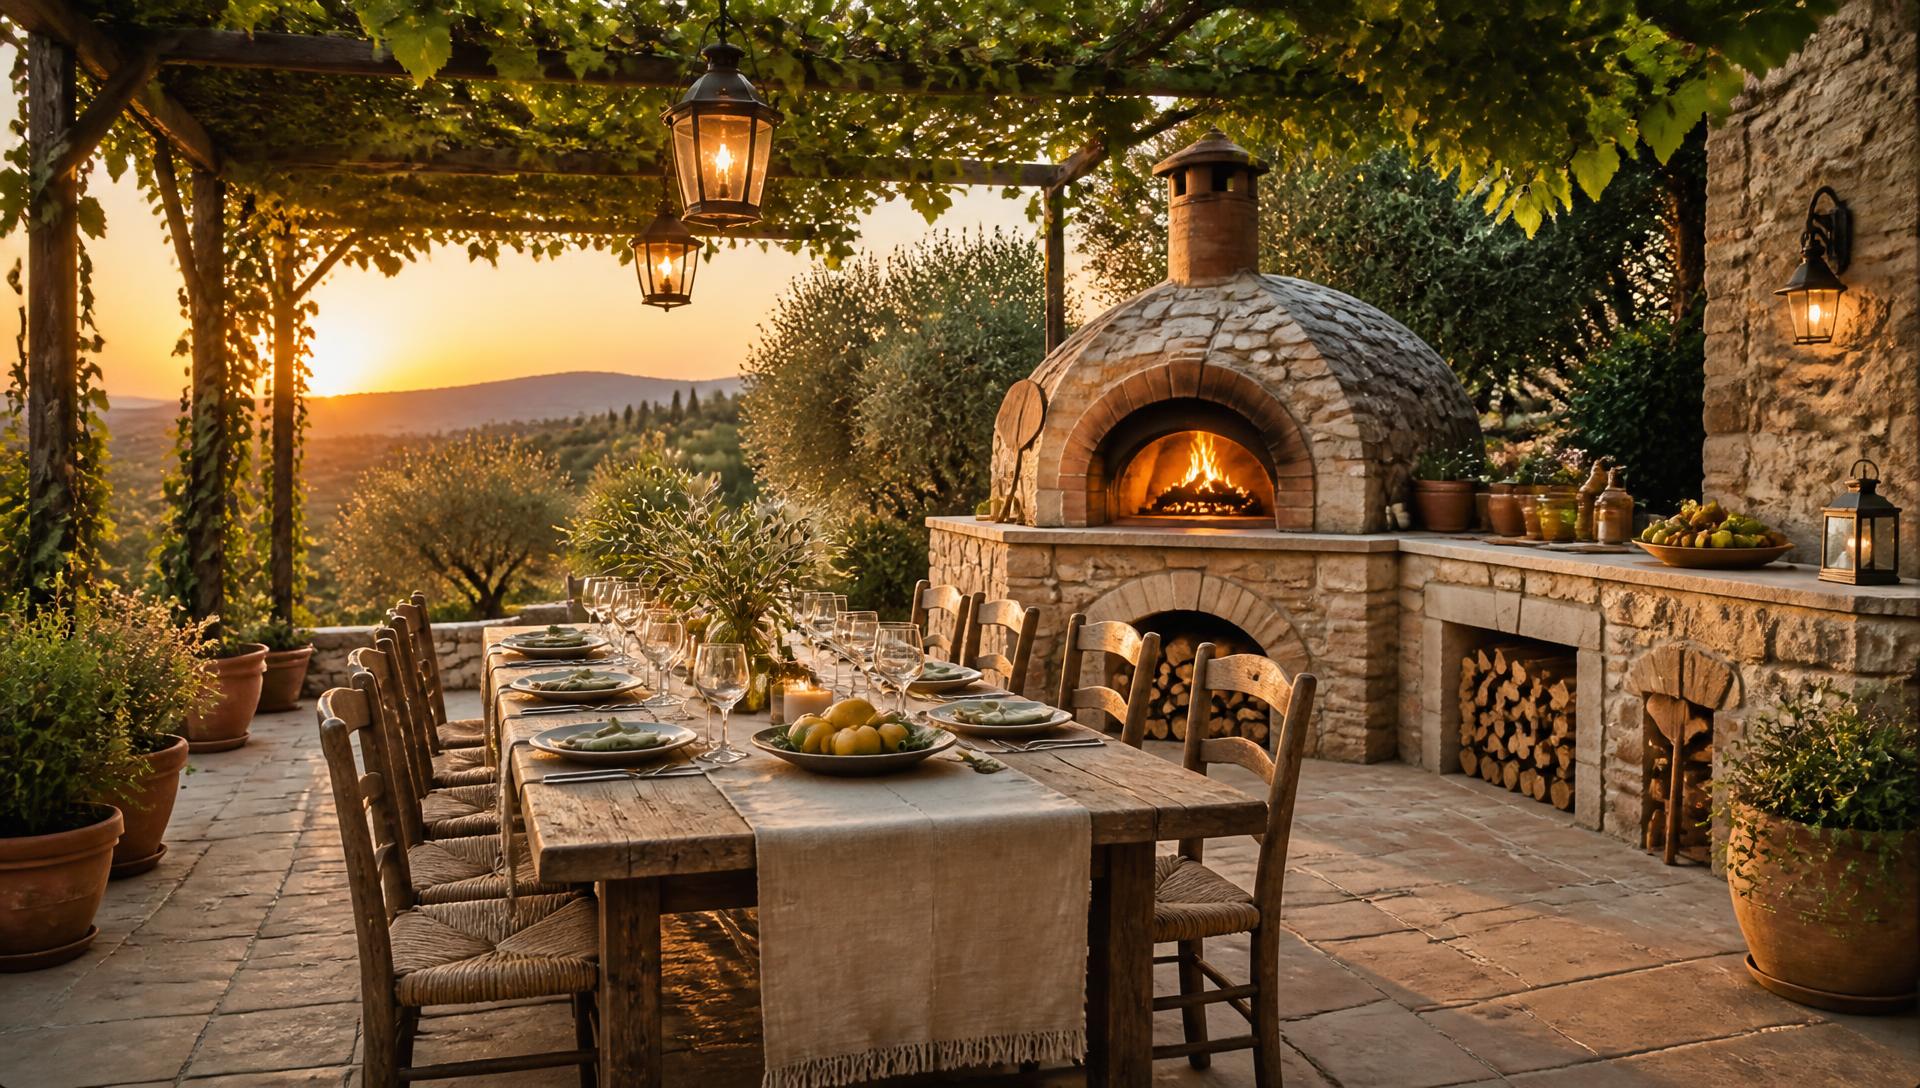
Garden Plans design ideas photo from the Aerial Top View Garden Layout Design Ideas and Photos feature. this image created by www.homedesign-photos.com

Then check circulation and light in plan. Paths should follow the route people actually take, with widths that suit two people side by side on the main run. Mark where shade falls at midday in summer and midwinter and place the seating accordingly. Finally, look at the ratio of hard surface to planting: the gardens that photograph best from above are usually around one third built and two thirds green, no matter what style they are.
More feature articles

Full feature article · Planning & Building

How to Build Your Dream Home and Garden Landscapes

The order of work that separates a garden that lasts from one rebuilt in three years — plans, levels, drainage, services, hard landscaping, then planting and lighting.

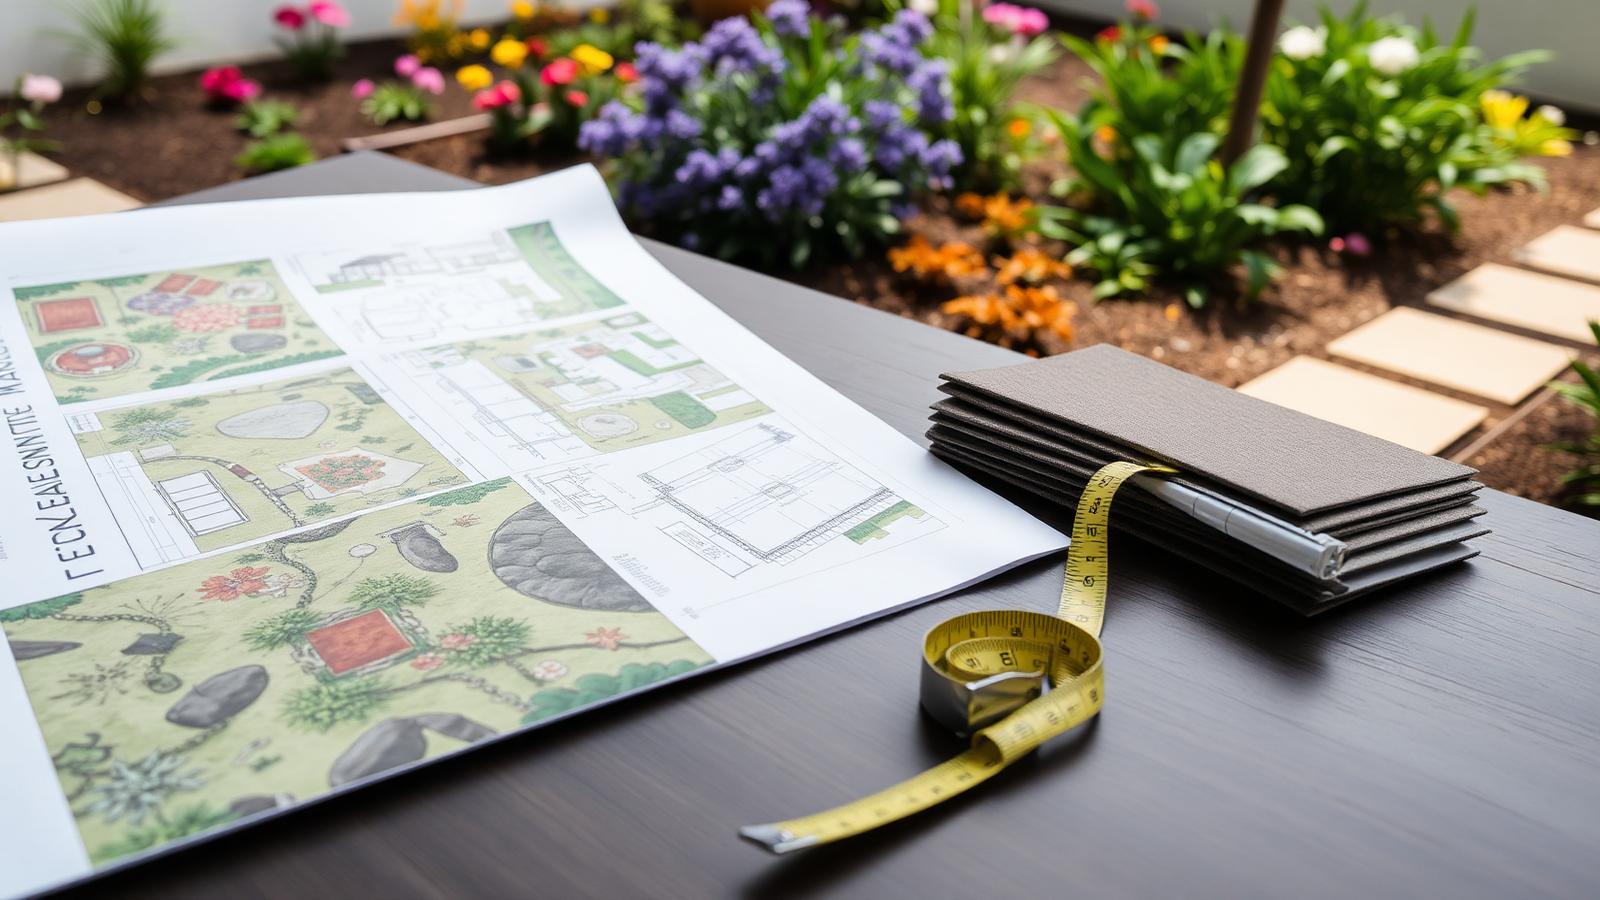
How to Build Your Dream Home and Garden Landscapes Planning & Building home and garden design photo feature. this image created by www.homedesign-photos.com

Almost every disappointing garden was built in the wrong order. Paving goes down before drainage is solved, planting goes in before the levels are final, the outdoor kitchen is positioned before anyone works out where the gas, water and power will come from, and three years later half of it is dug up again. A dream garden is mostly a sequencing problem.

Begin with a measured plan of the whole property, even if the work will be staged over a decade. Mark boundaries, the house footprint, doors and windows, existing trees, the fall of the land, the path of the sun in summer and winter, prevailing wind, and where you look from the rooms you use most. Every good decision that follows comes from this drawing, and it costs nothing but an afternoon.

Settle finished levels and drainage next. Decide the height of every terrace, step and lawn against the finished floor level of the house, then work out where water goes in a downpour — surface falls away from the building, subsoil drains behind every retaining wall, pits and pipes sized for the roof and paved area. This is invisible work that determines whether the garden survives.

Planning & Building design ideas photo from the How to Build Your Dream Home and Garden Landscapes feature. this image created by www.homedesign-photos.com

Then run the services while the ground is still open. Conduits for lighting, irrigation mains and valves, water and gas to the outdoor kitchen and the future pool, power and data to the studio, a spare conduit under every path and paved area for whatever comes later. The single spare conduit is the cheapest insurance in landscaping.

Hard landscaping follows: retaining walls, paving, steps, decks, pergola footings and the pool shell. Build these to last, because they are the elements you cannot easily change, and they set the geometry that planting will fill. Choose fewer materials than you think you need — one paving stone, one timber, one metal finish, repeated everywhere — and the garden will look considered rather than assembled.

Planting and finishing come last, and in that order: structural trees for shade and screening, then hedges and shrub blocks, then the perennial and grass layer, then mulch. Lighting, furniture, the outdoor kitchen and the fire element complete it. Build every stage against the same master plan and a garden constructed over ten years will look as though it was finished in one season — which is precisely the outcome the plan exists to produce.